
Microsoft Copilot Studio
The Flowcase MCP server is in beta and is available on request. Request access to the MCP beta.
This guide adds the Flowcase MCP server to an agent in Microsoft Copilot Studio.
It uses an API key to authenticate. See MCP Overview for the authentication options.
1. Create a new agent
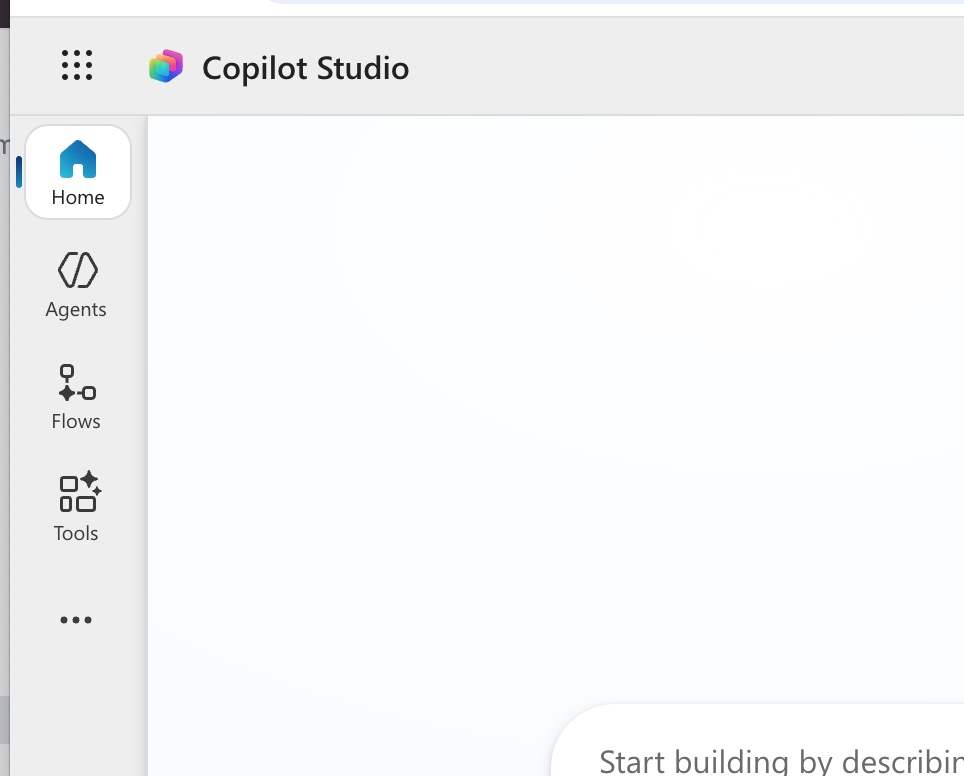
- In Copilot Studio, select Agents from the left-hand navigation.
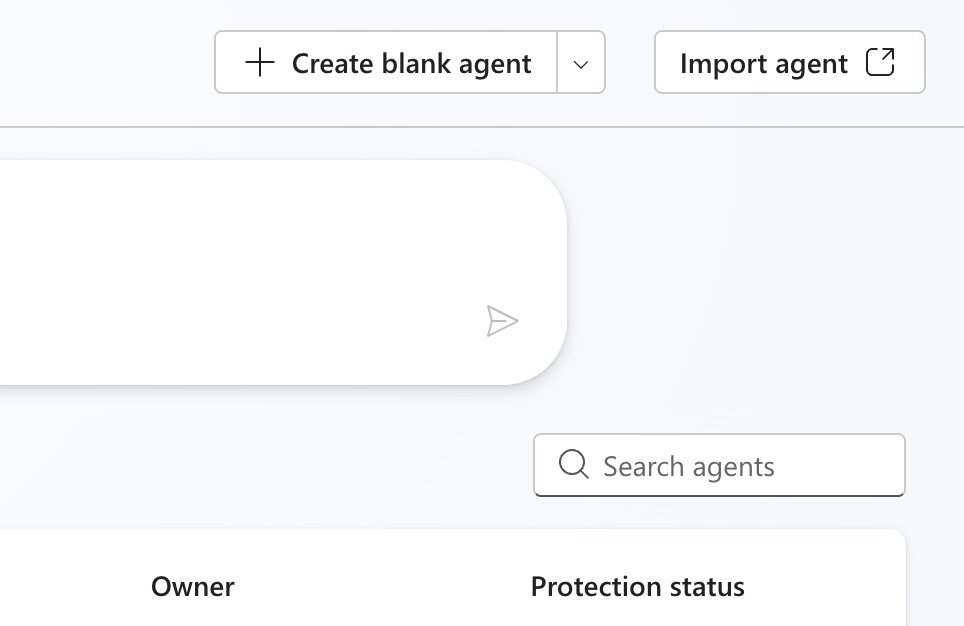
- Click Create blank agent.
2. Add an MCP tool
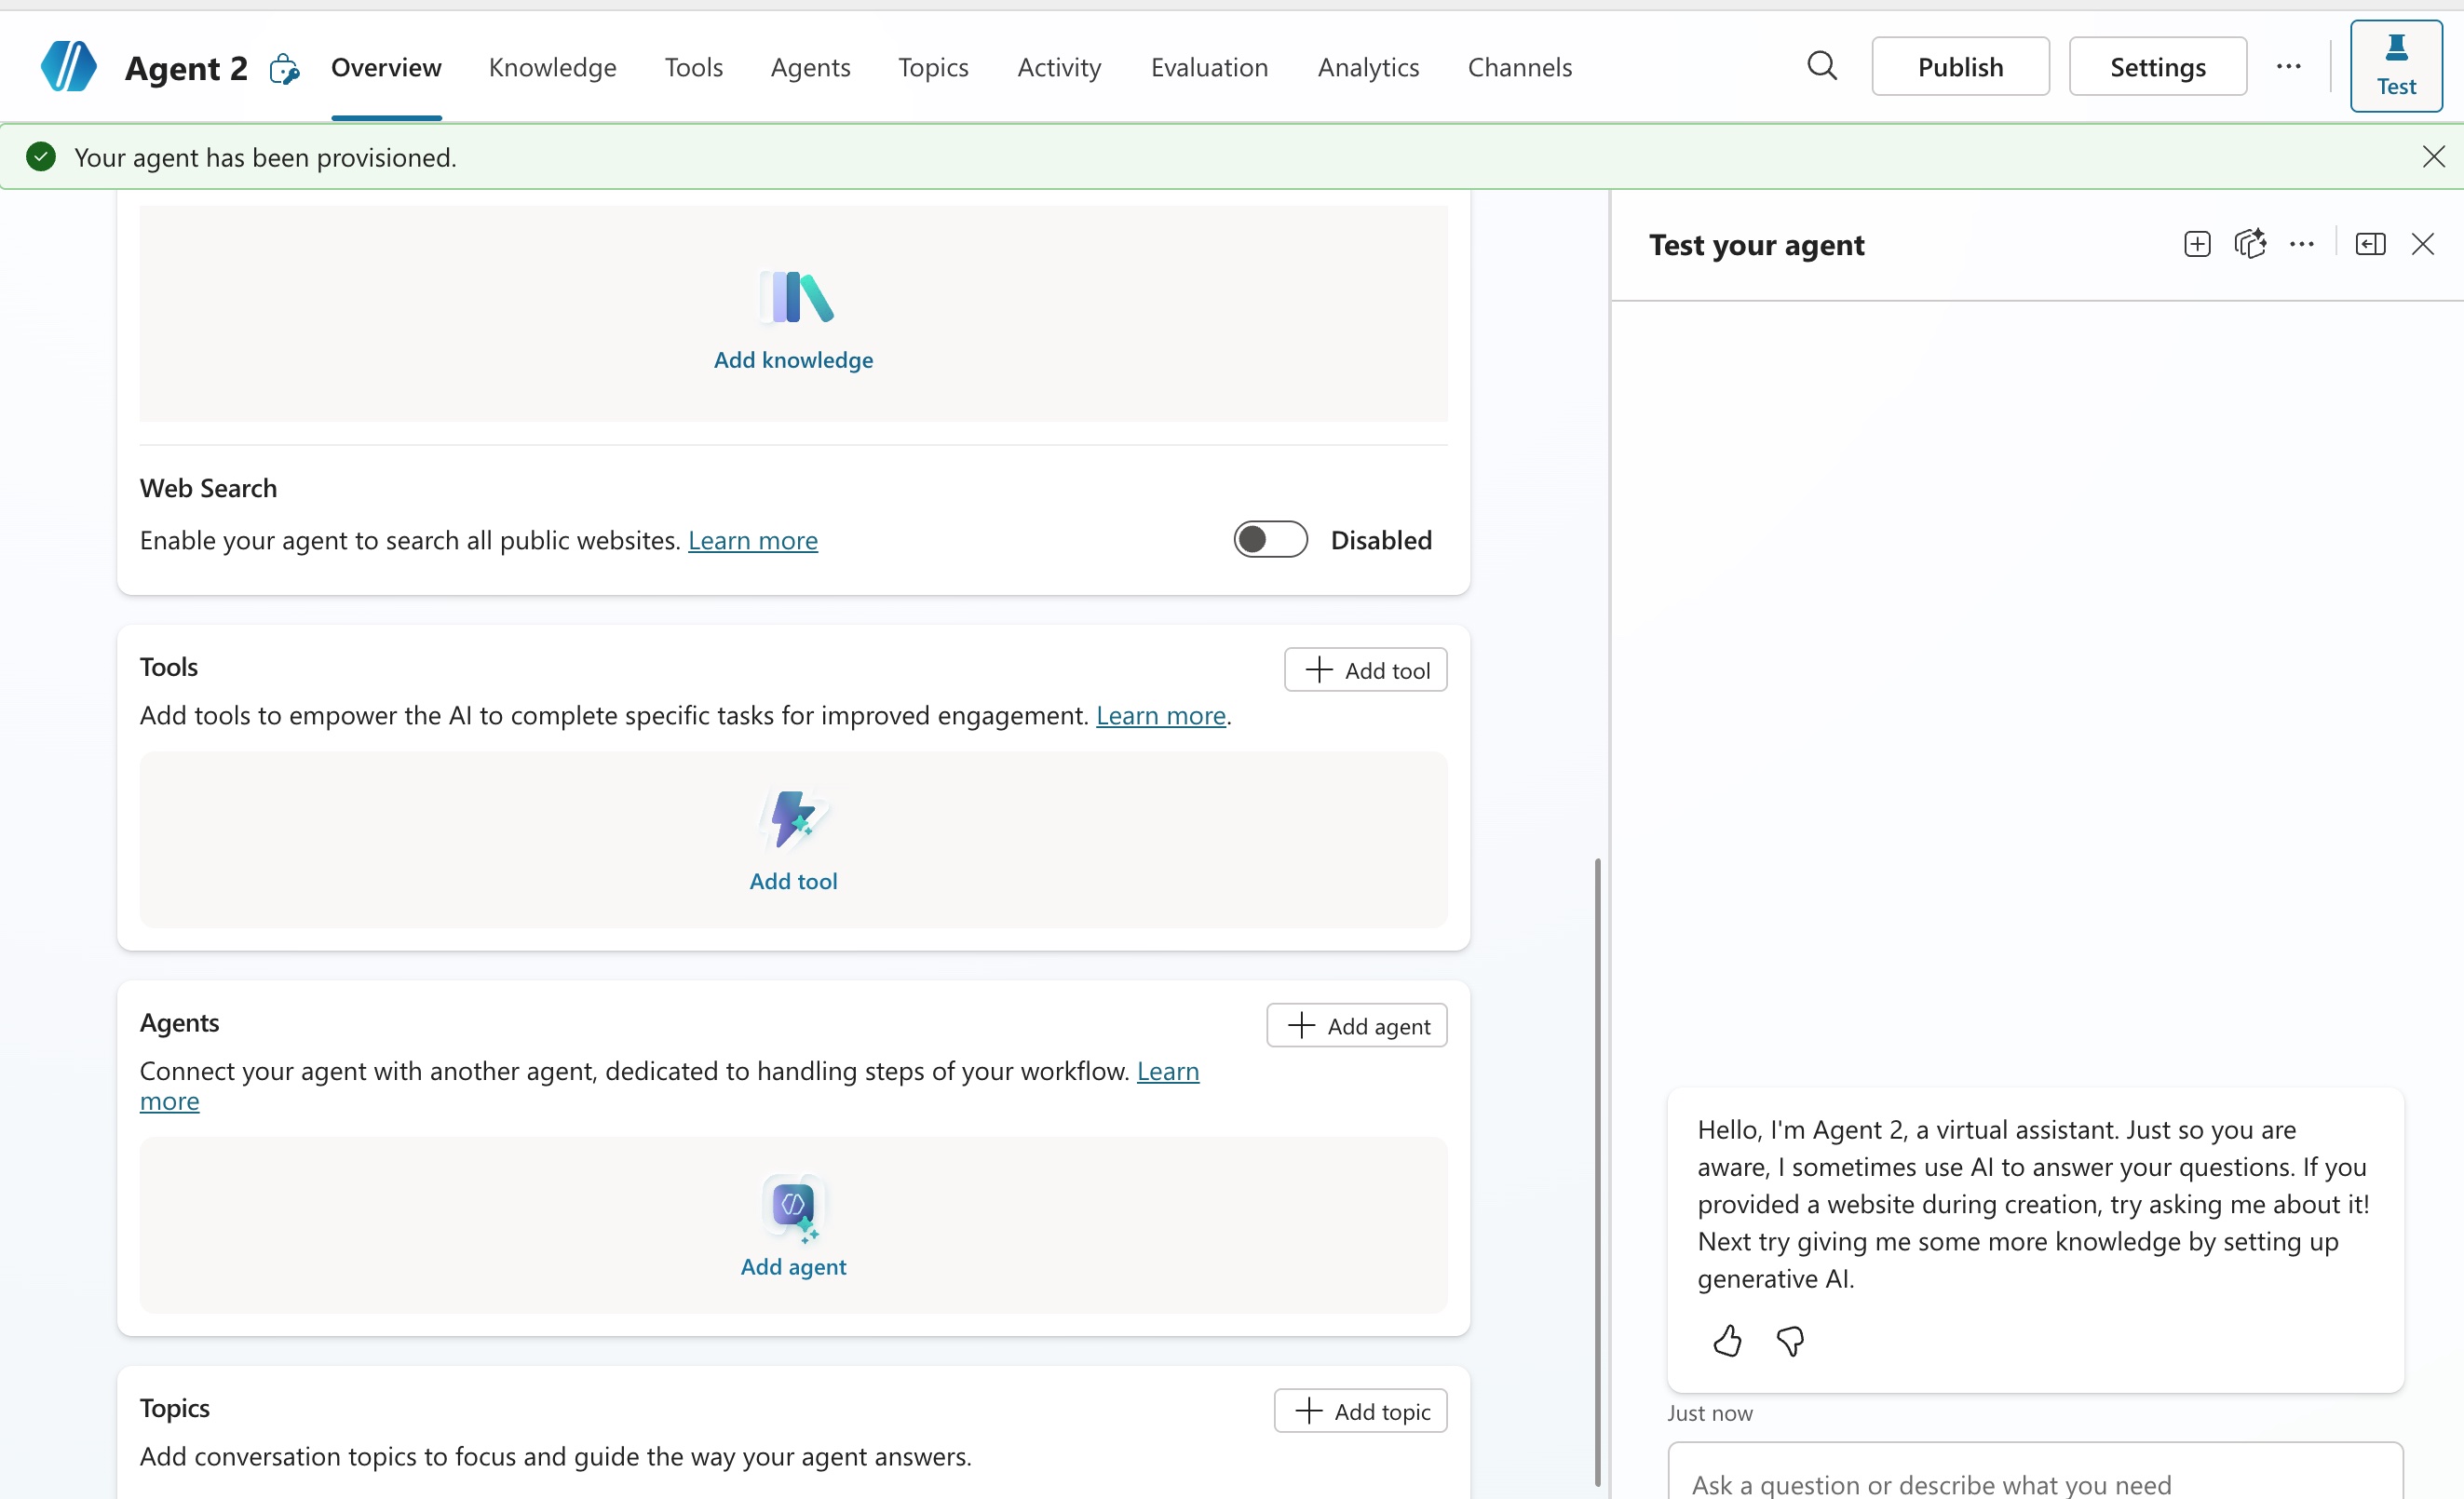
- On the agent's Overview page, scroll down to the Tools section.
- Click Add tool.
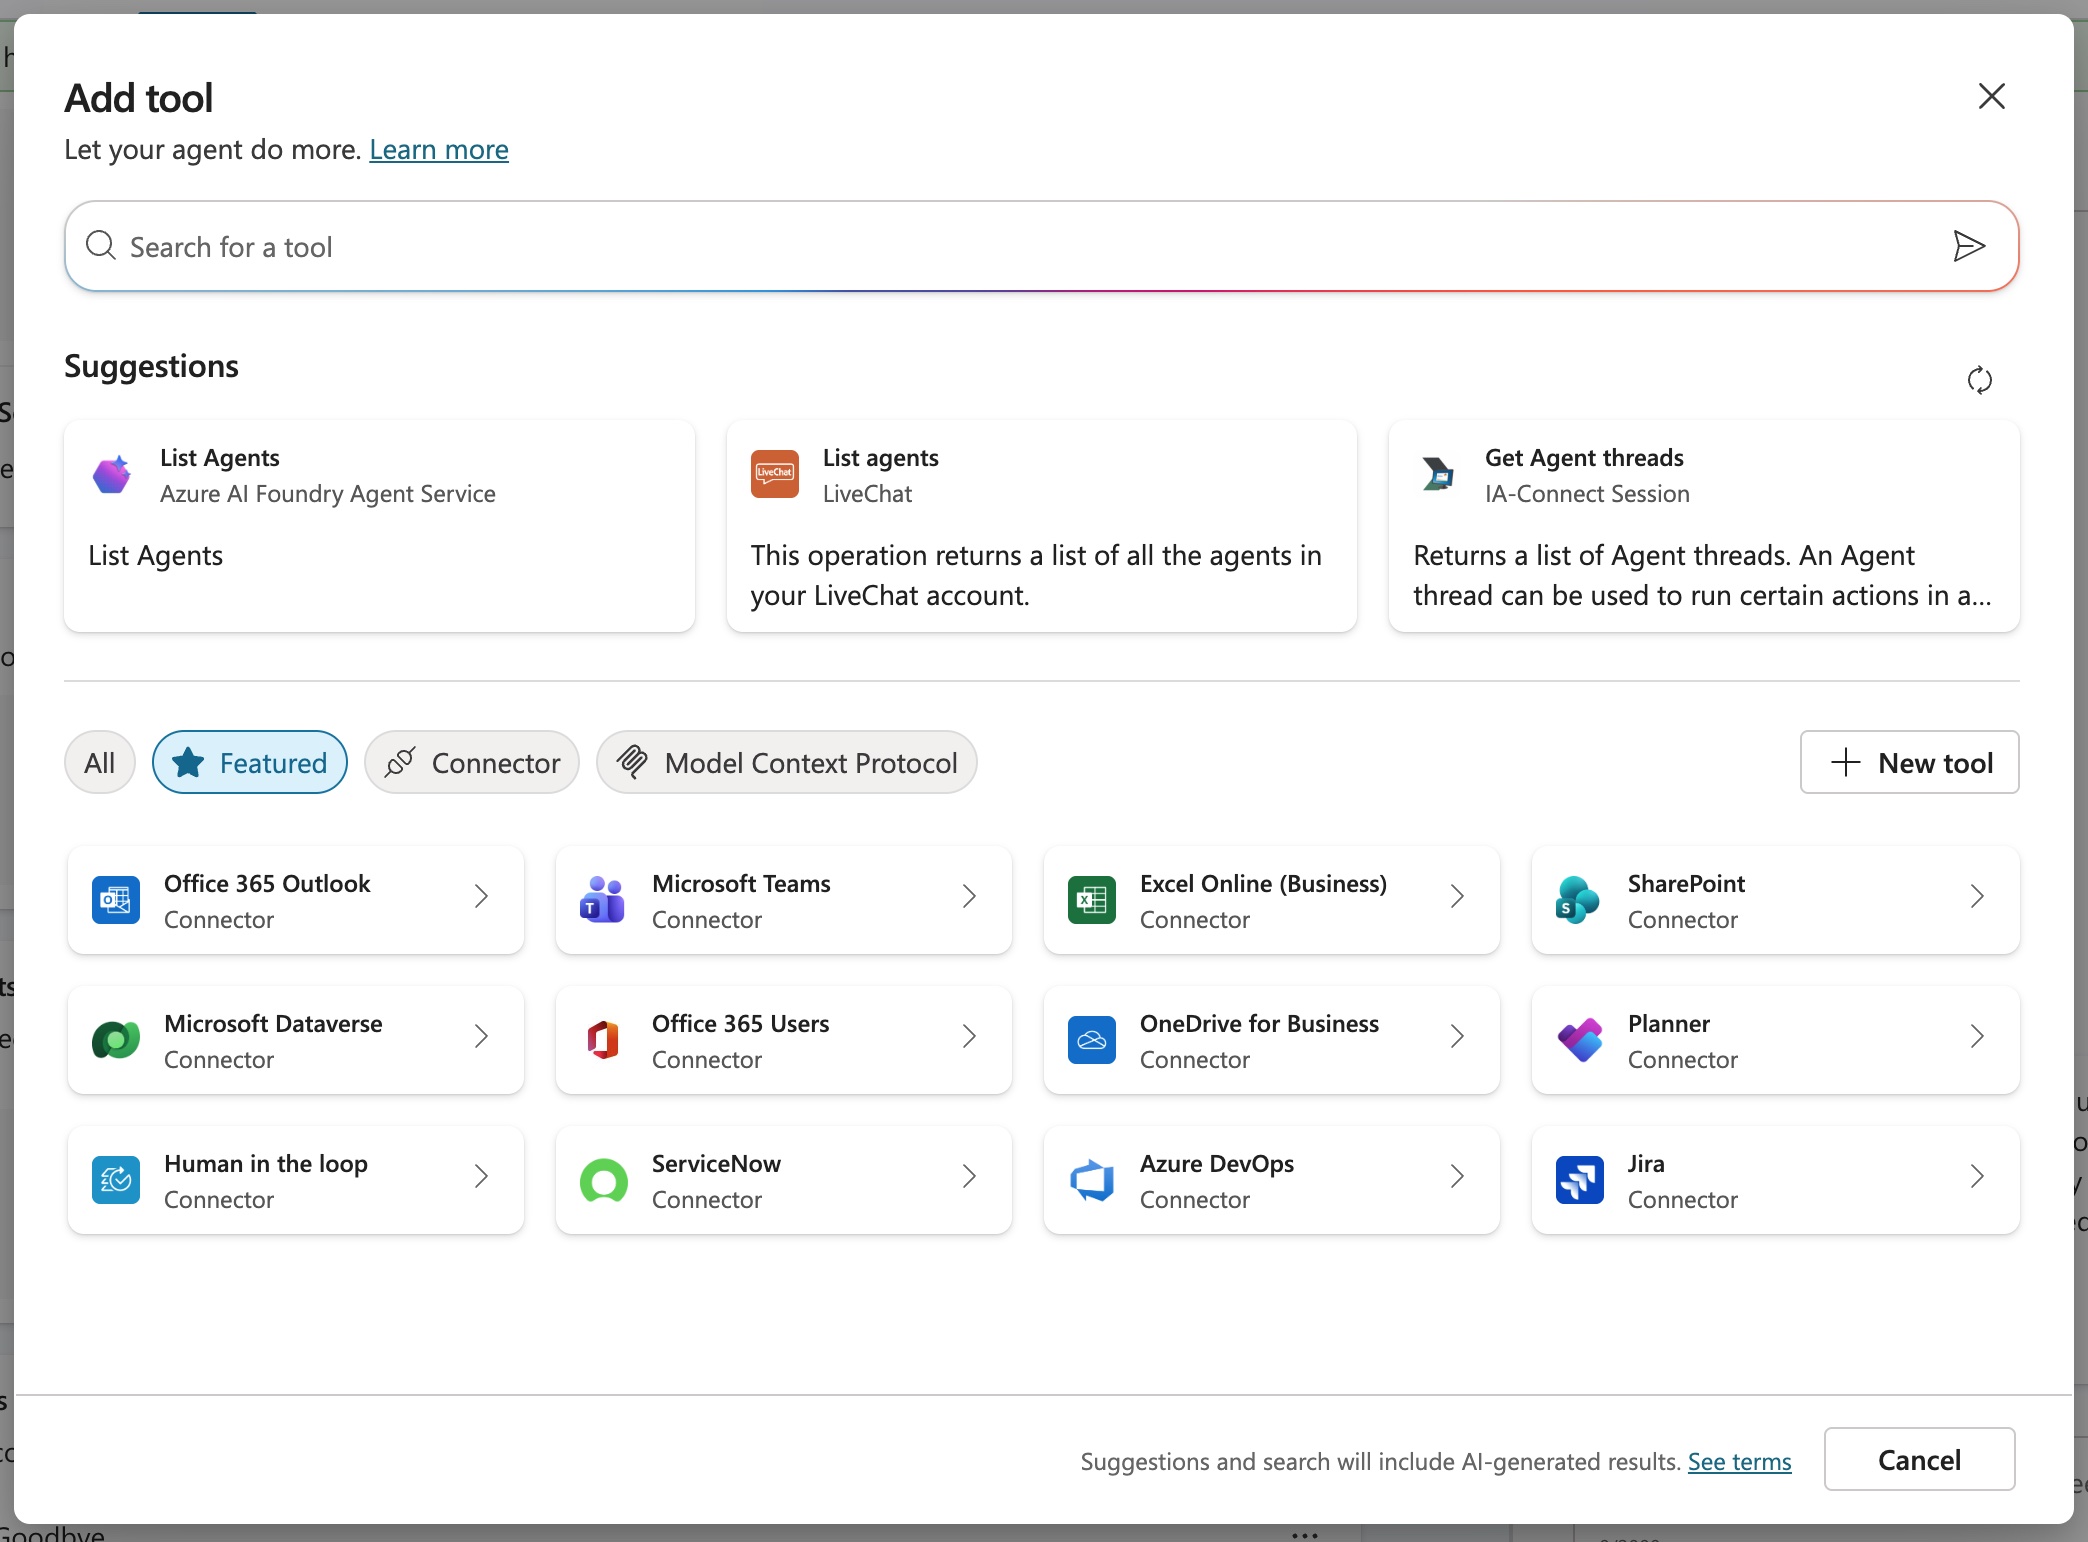
- In the Add tool dialog, select New tool.
- Choose Model Context Protocol as the tool type.
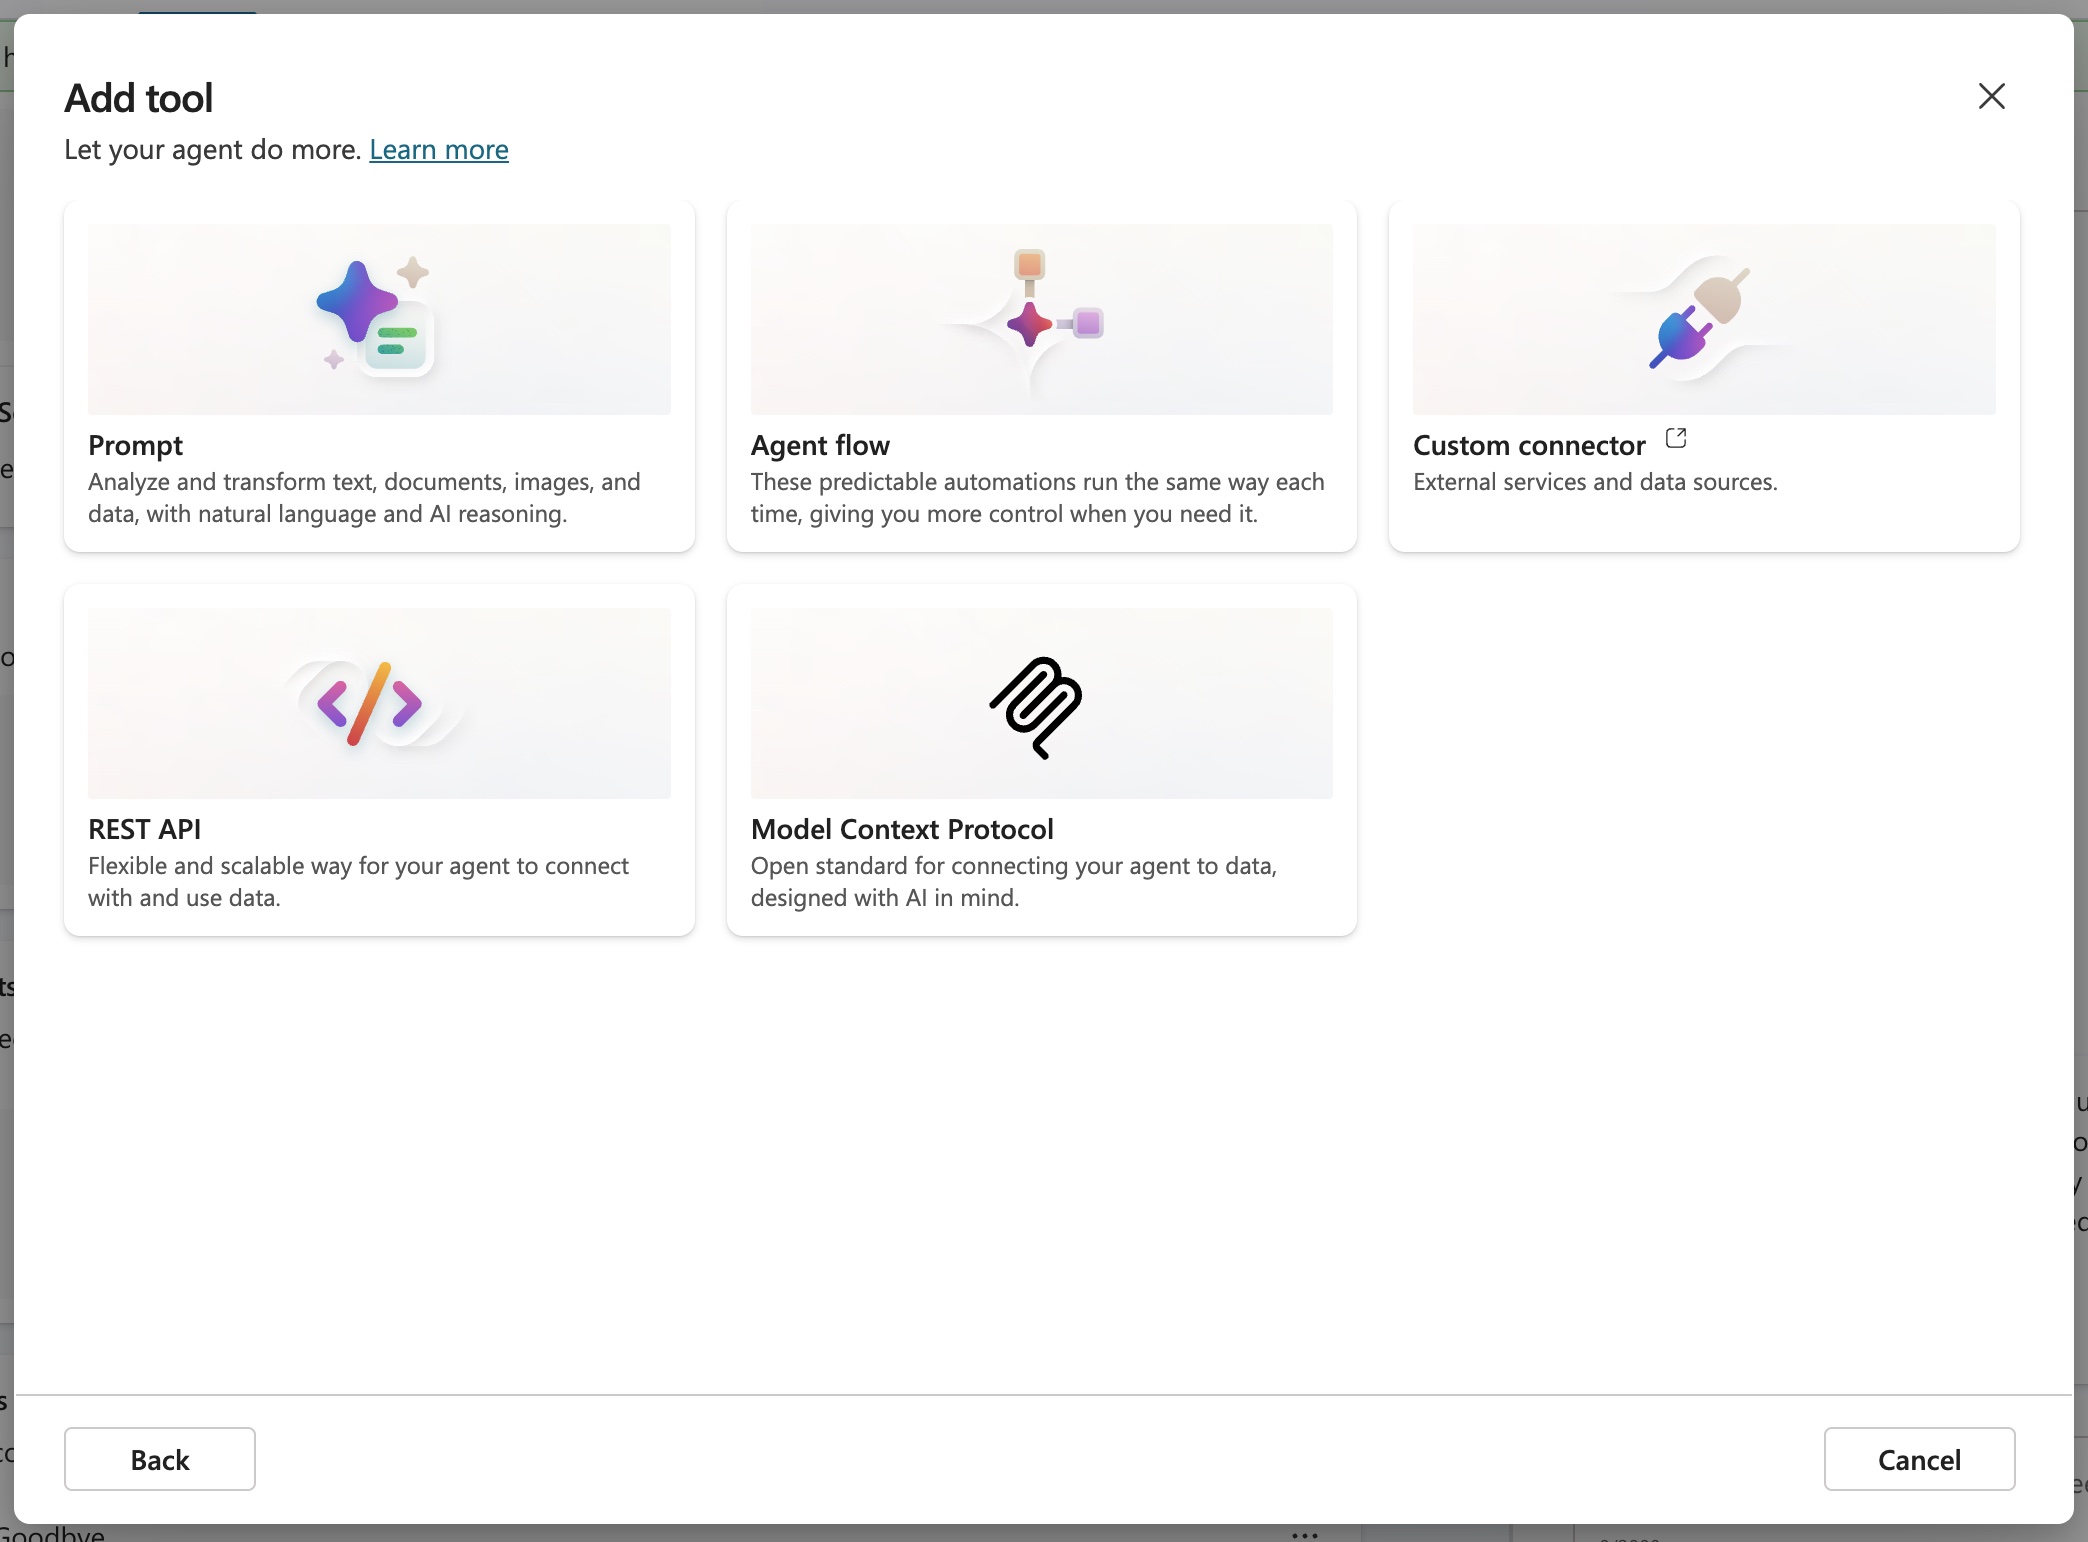
3. Configure the MCP server
Enter the following details:
| Field | Value |
|---|---|
| Server name | Flowcase |
| Server description | A short description of the tool, for example "Search and manage CVs". |
| Server URL | https://<subdomain>.flowcase.com/mcp |
| Authentication | API key |
| Type | Header |
| Header name | Authorization |
Replace <subdomain> with the subdomain you use to access Flowcase, then click Create.
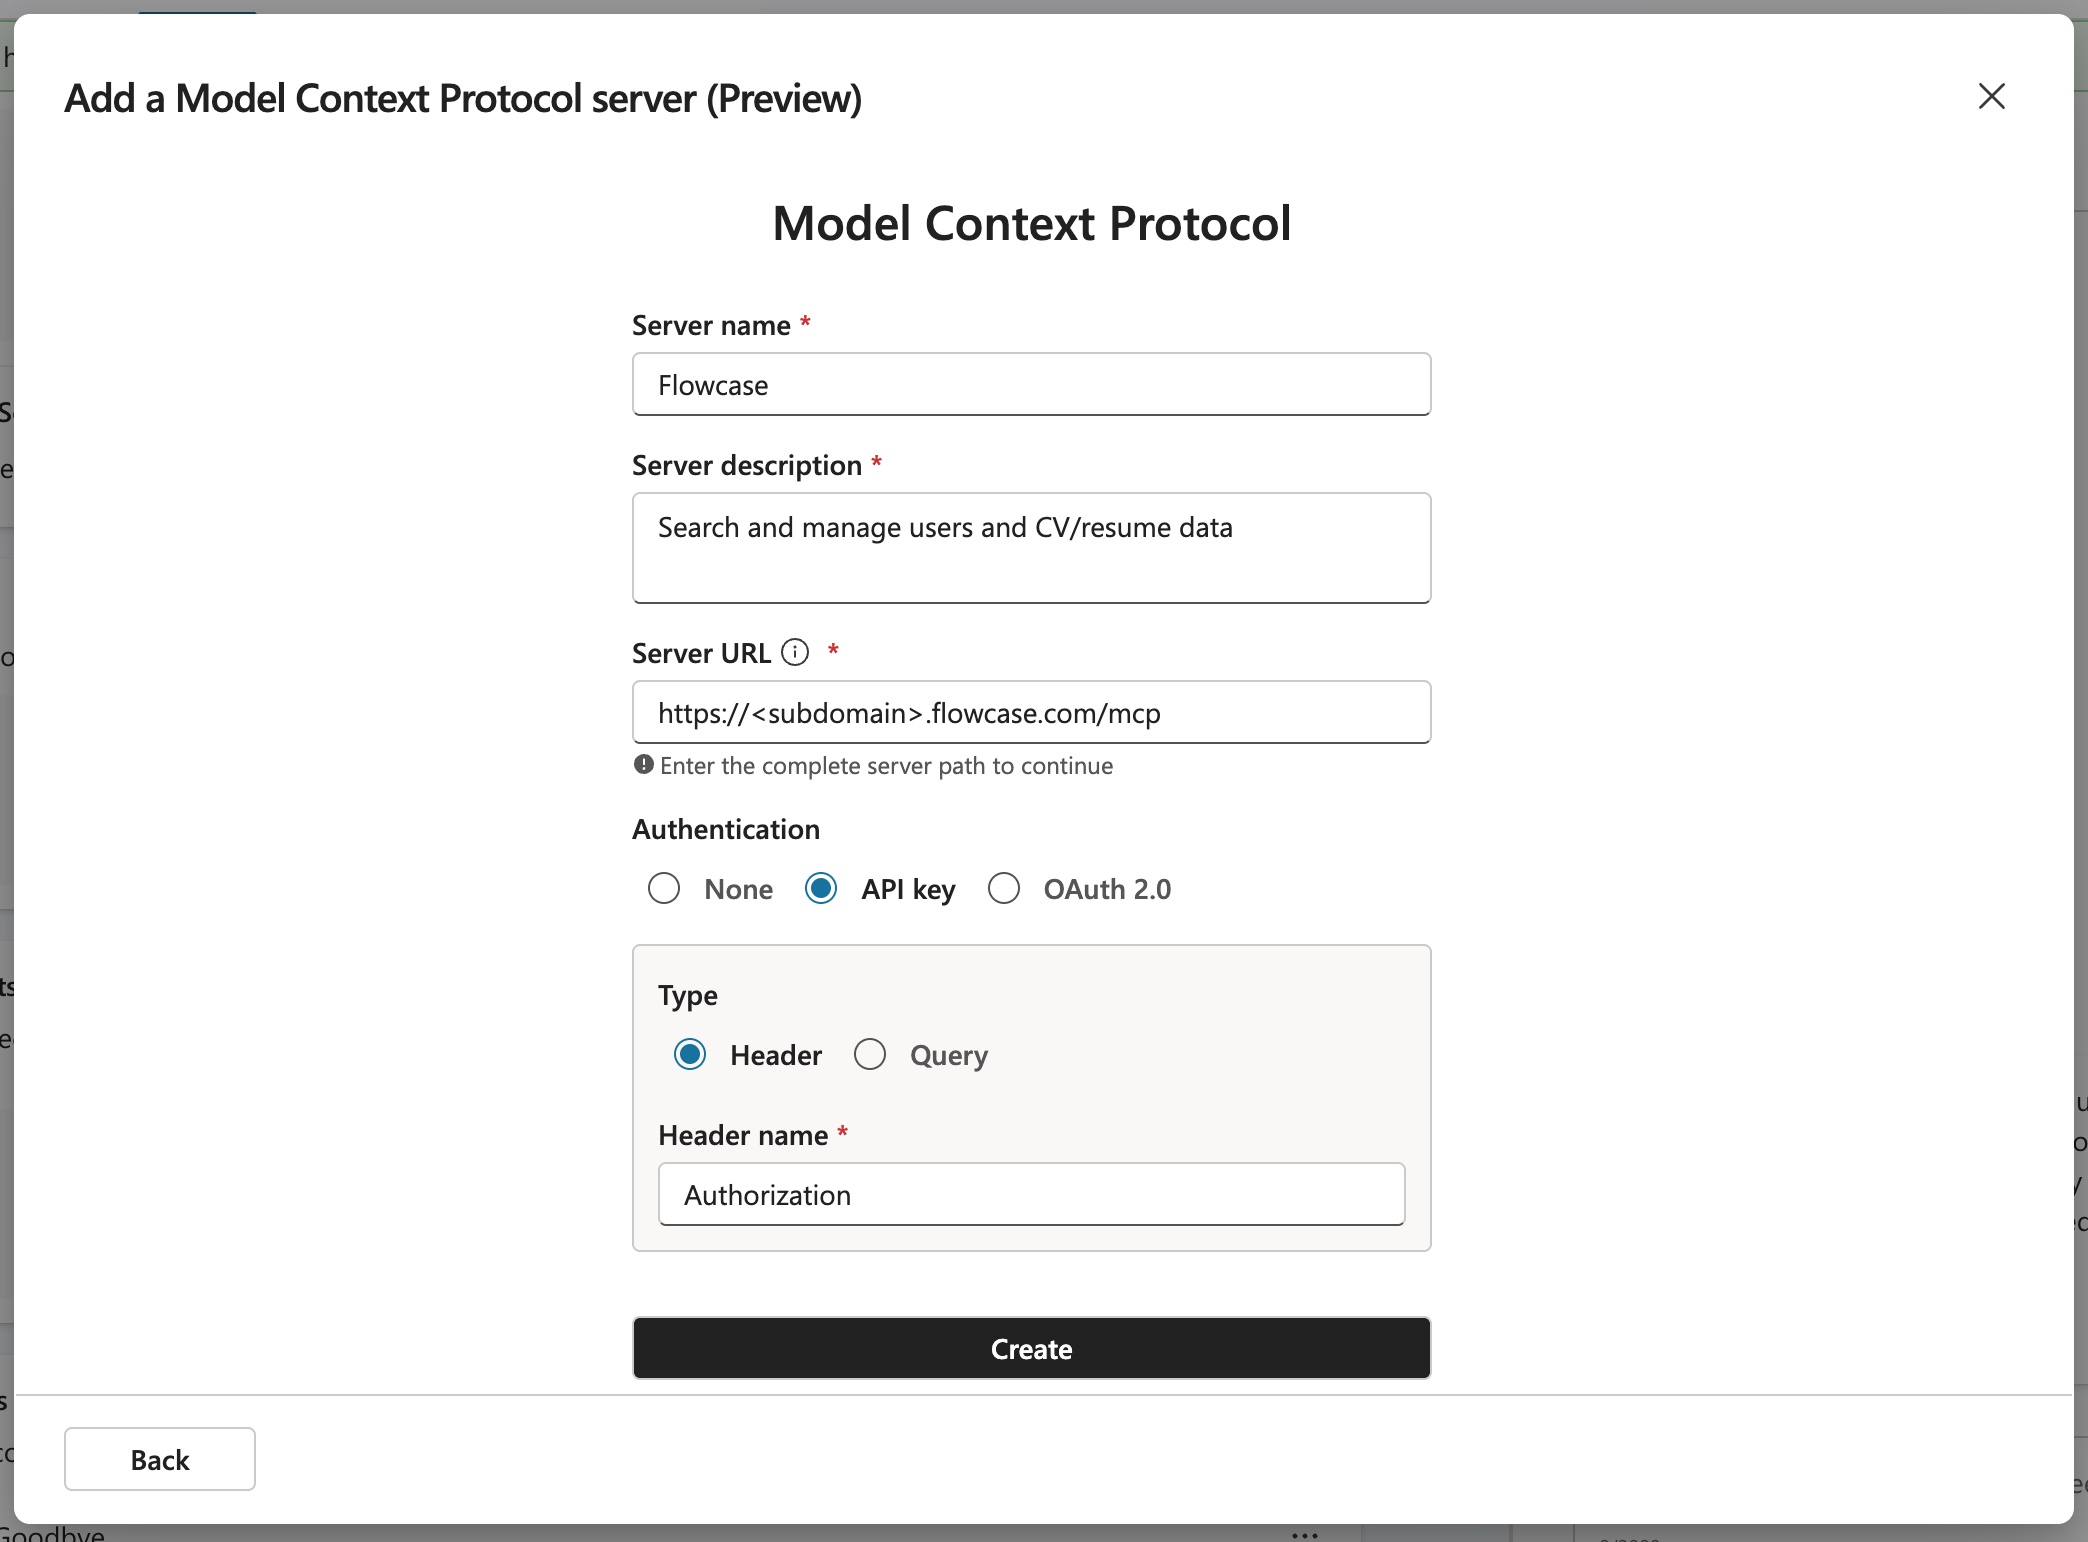
4. Create a connection
After the tool is created, Copilot Studio shows a preview of it.
- Click Not connected.
- Select Create new connection.
Copilot Studio then asks for an API key.
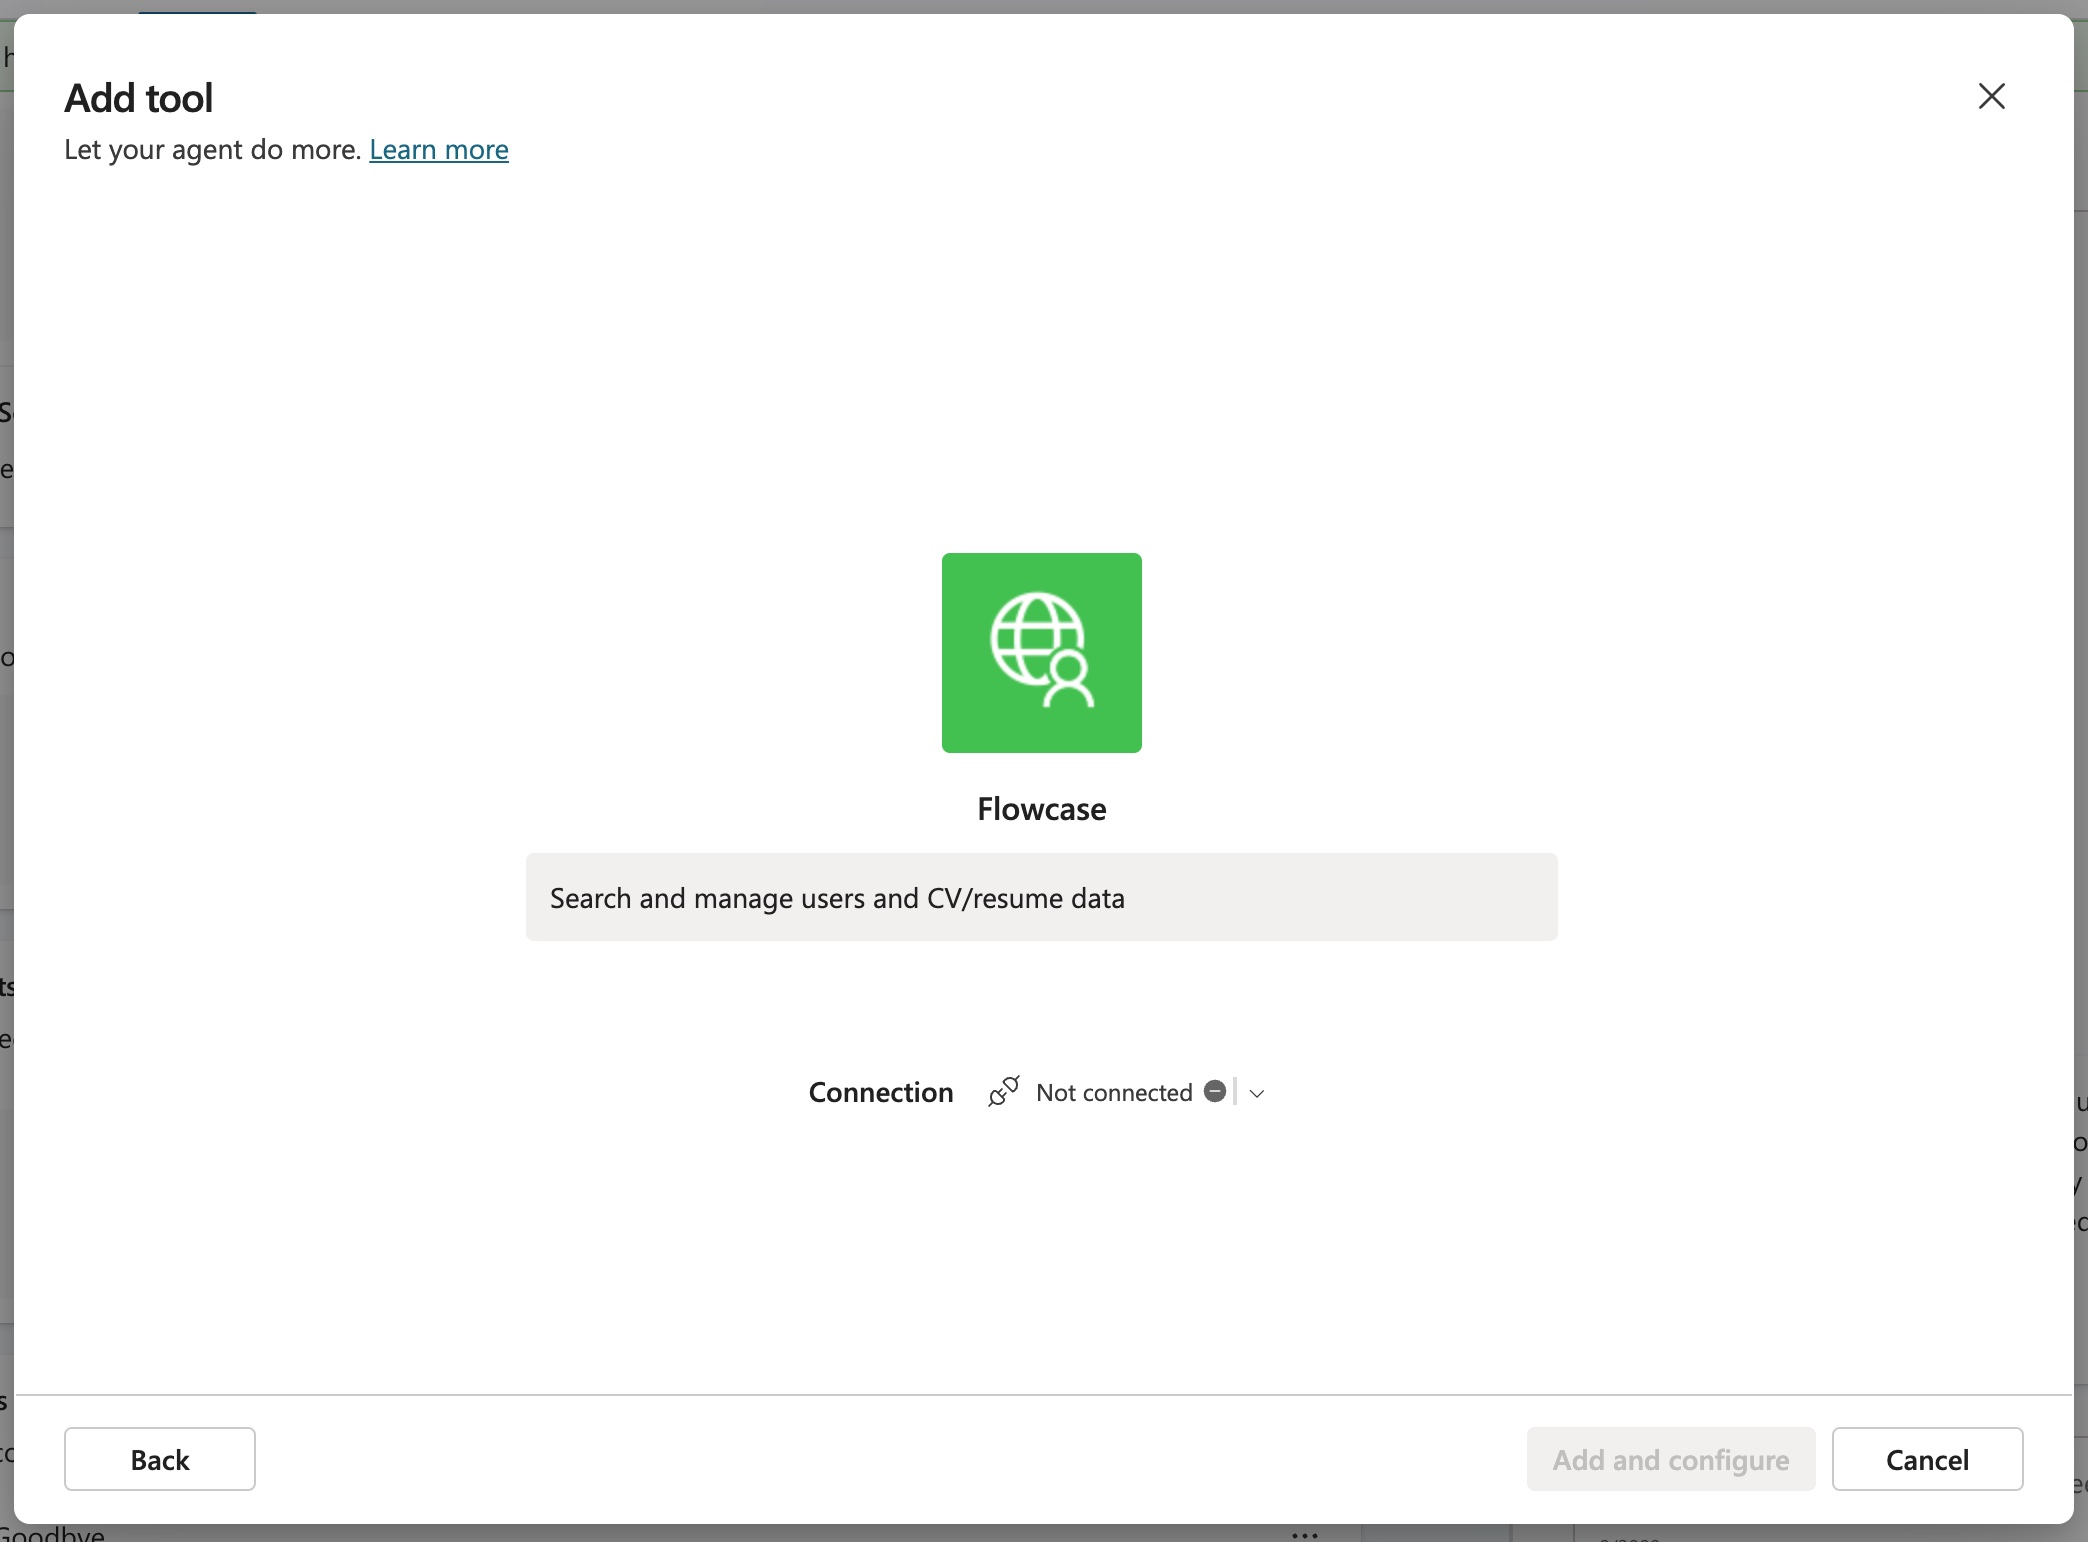
5. Create and enter the API key
You must use an API key with the Read only Administrator access level.
- Log in to your Flowcase account.
- Go to
https://<subdomain>.flowcase.com/settings#/apikeys. - Create an API key with the Read only Administrator access level.
The connection dialog expects the full value of the Authorization header, so put Bearer and a space before your API key:
Bearer <your-api-key>
Enter this value, then click Add and configure to finish setting up the connection.
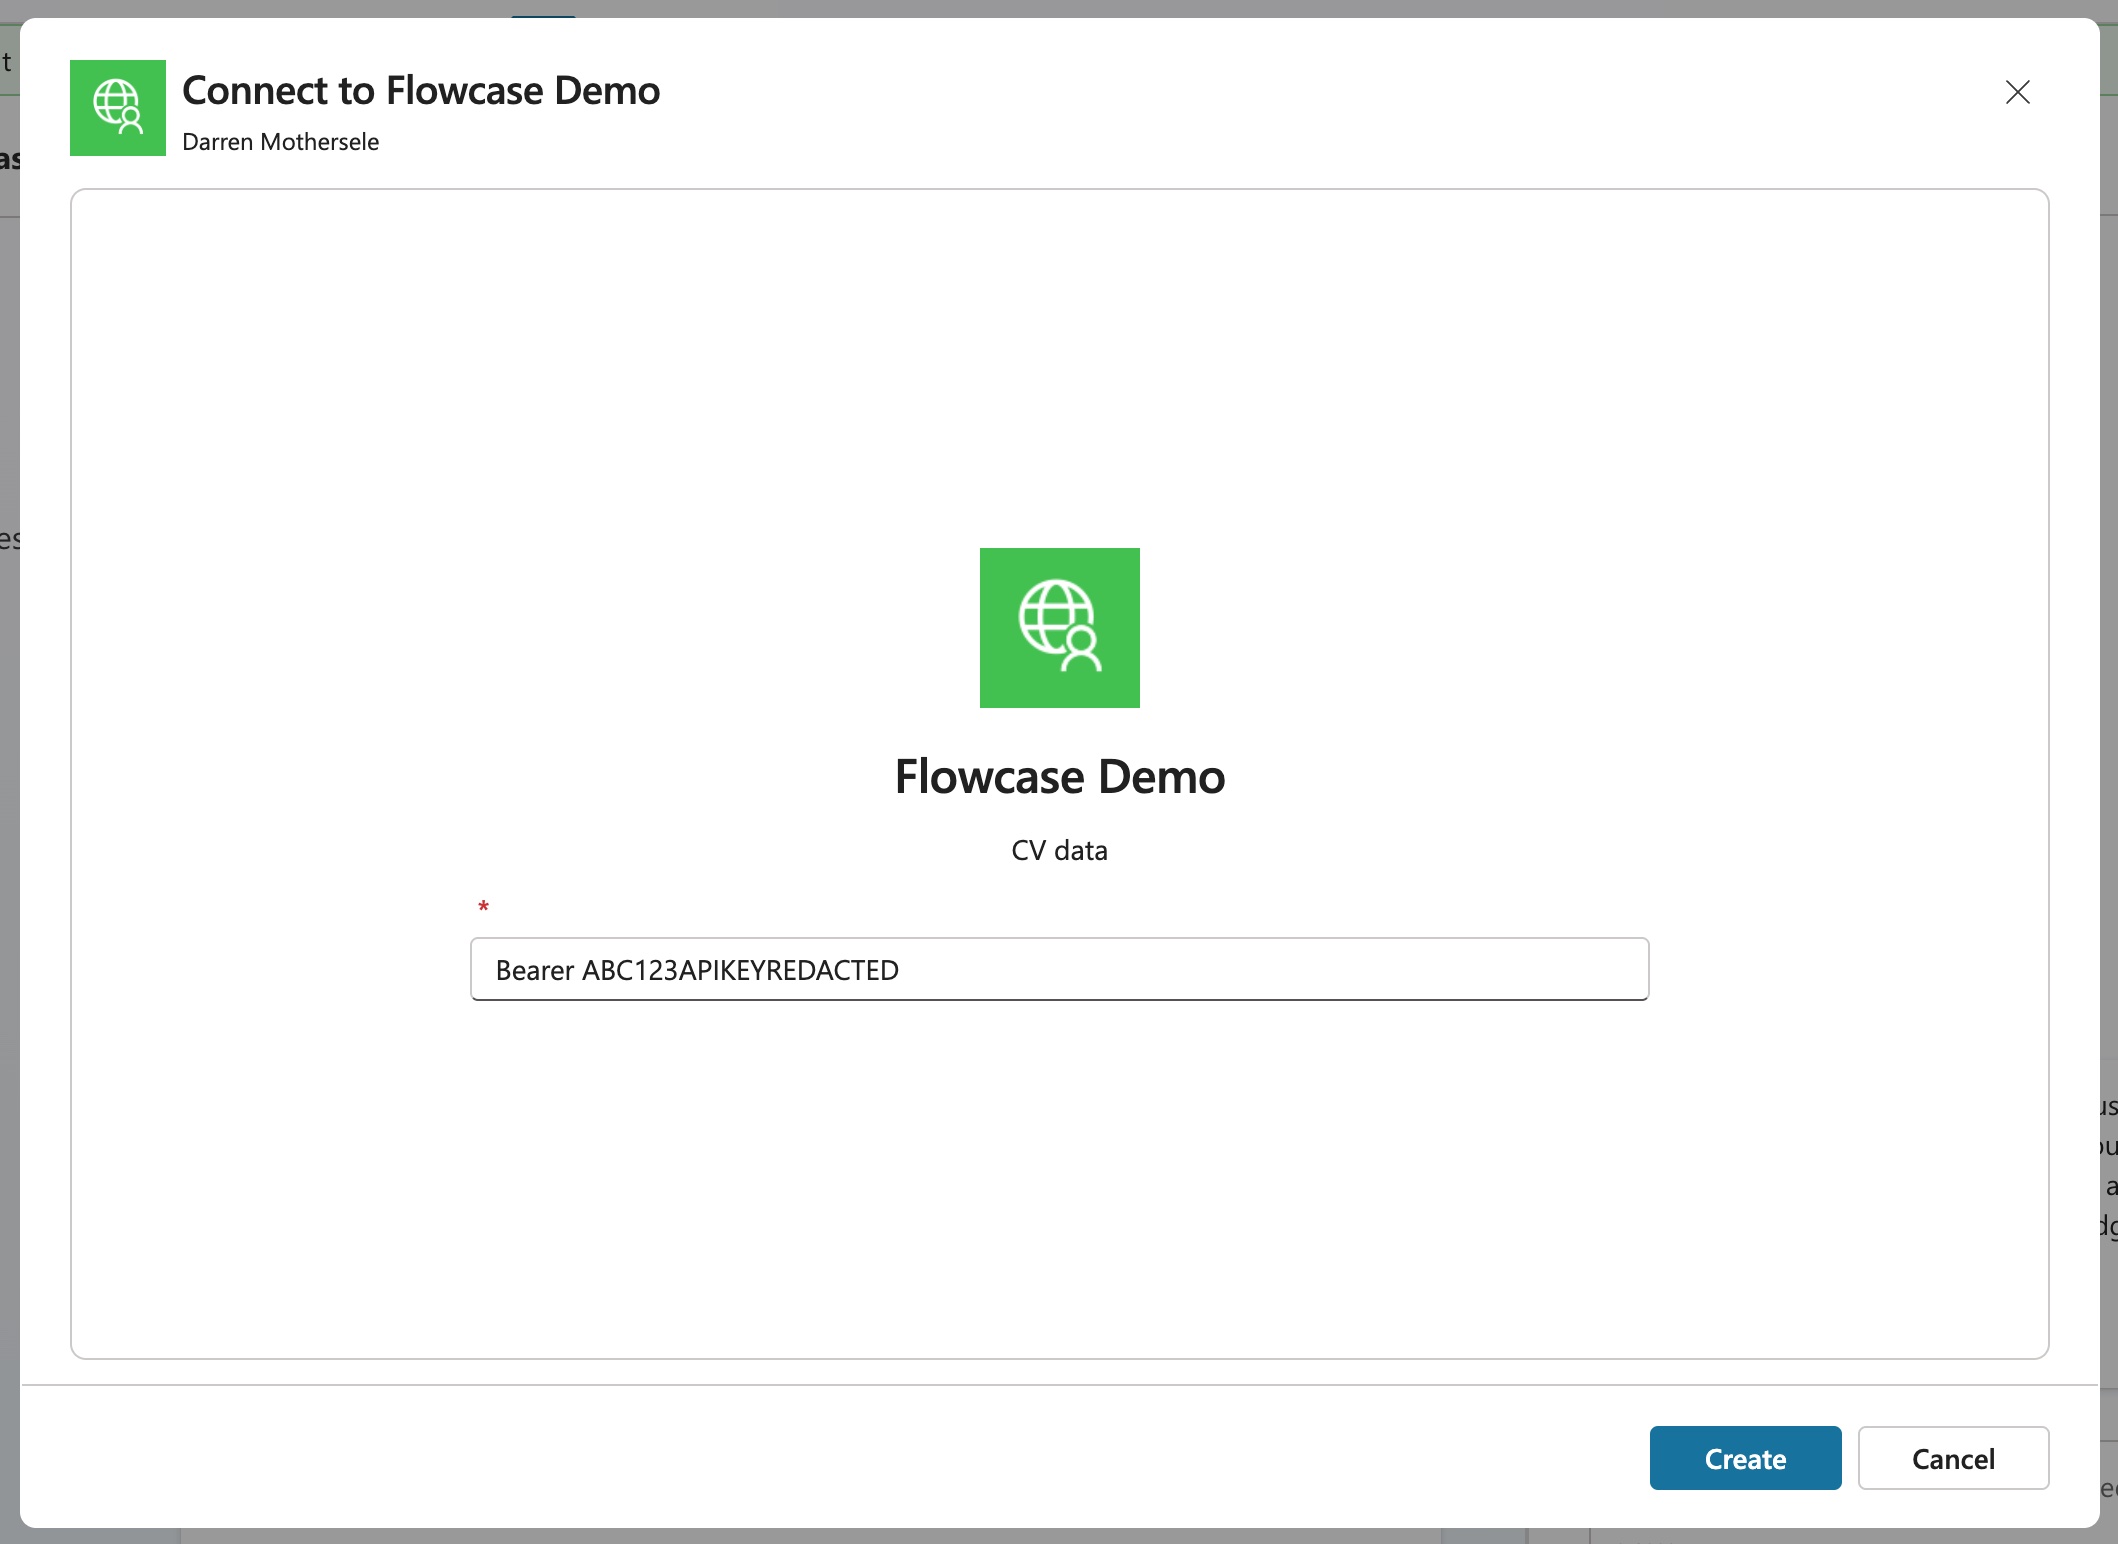
6. Choose which credentials to use
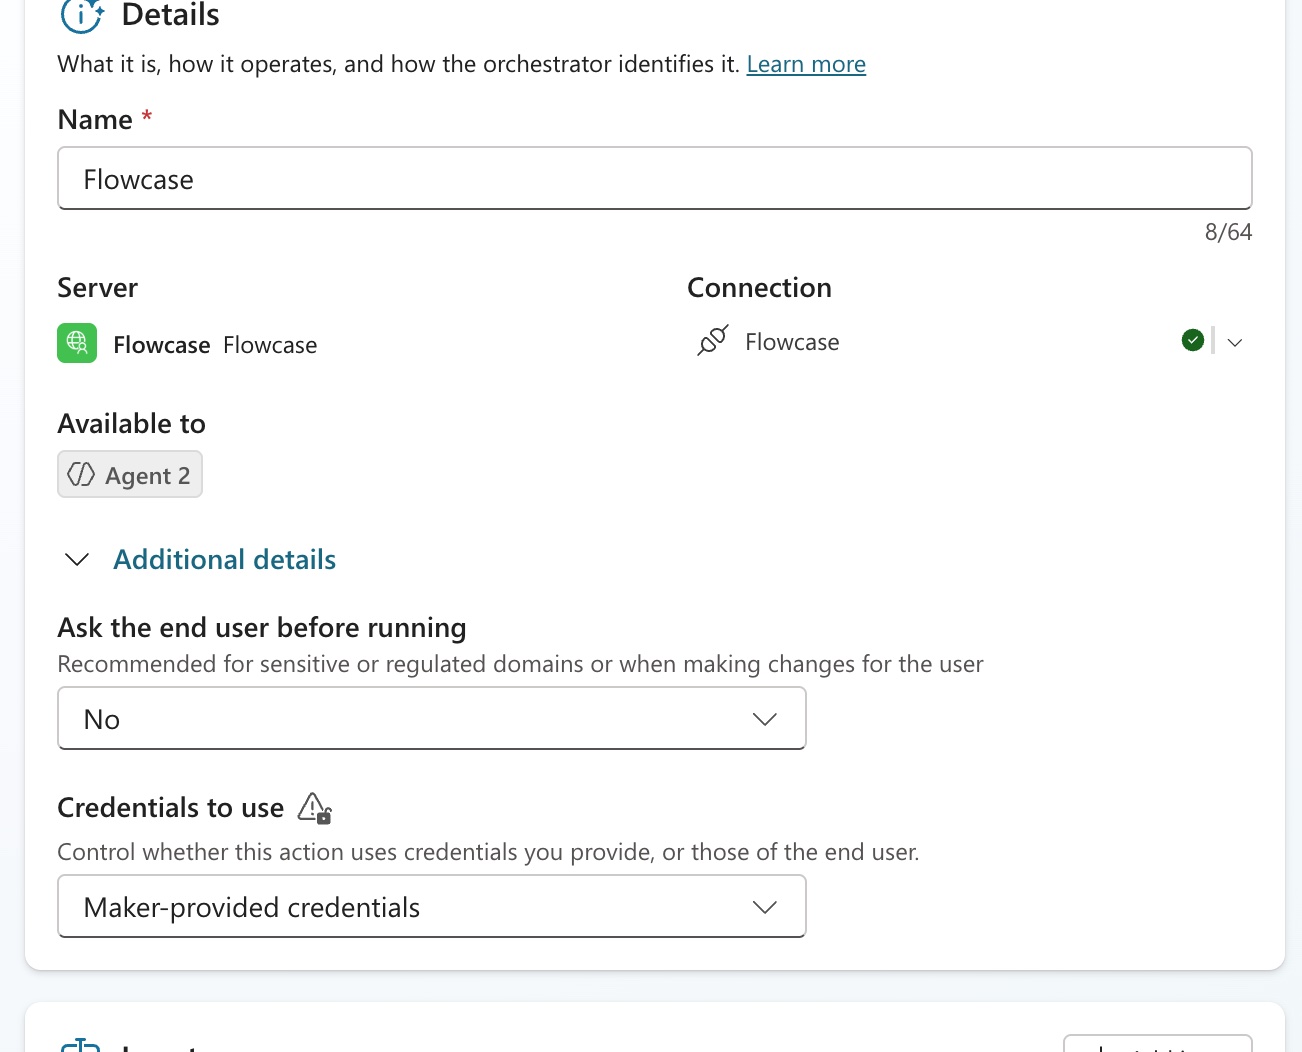
Copilot Studio returns you to the agent configuration screen.
- Expand Additional details.
- Under Credentials to use, select Maker-provided credentials.
Maker-provided credentials share your API key with everyone who uses the agent. Make sure this meets your security and access requirements.
7. Refresh the tool list if needed
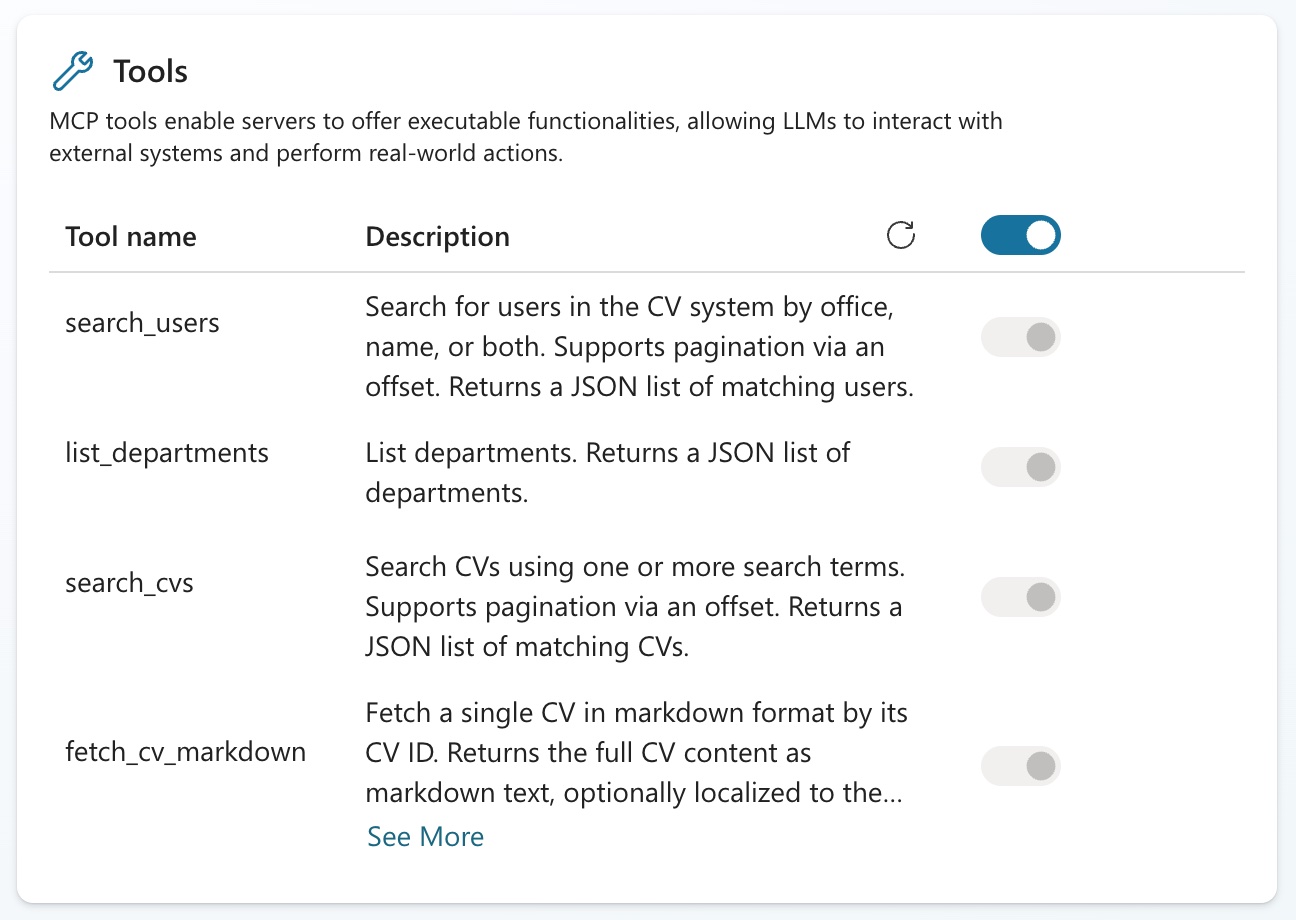
Sometimes the tool definitions fail to load when you first add the MCP server.
- After selecting Maker-provided credentials, click the Refresh button in the Tools section.
- The Flowcase MCP tools should then appear in the list.
8. Test the agent
Use the Copilot Studio chat to test the agent and check that the Flowcase tools work as expected.
Next steps
For more agent configuration options and best practices, see Microsoft's guide to getting started with Copilot Studio.